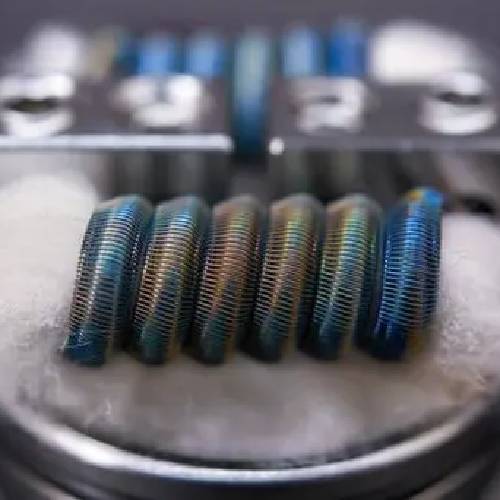
Welcome, vape enthusiasts! If you've recently snagged yourself a shiny new vape coil and are itching to get the best possible experience out of it, you've come to the right place. Today, we're diving into the art of properly breaking in your new vape coil. This step is crucial for extending the life of your coil and ensuring you get that perfect hit every time. So, let's get into it with a conversational approach that'll make this process as easy as pie.
1. Start with a Clean Slate
Before we get into the nitty-gritty, let's talk about the importance of starting with a clean slate. Your vape device is your trusty companion, and like any good relationship, it thrives on care and attention. Ensure your vape tank is clean before installing a new coil. A simple rinse with warm water and letting it air dry can make a significant difference. This step removes any residual e-liquid or debris, providing a fresh environment for your new coil.
2. Priming: The Secret Sauce
Priming your coil is, without a doubt, the most critical step in the break-in process. Think of it as a gentle introduction between your coil and e-liquid, ensuring they get along well from the start. Here's how to prime your coil like a pro:
-
Step 1: Start by carefully dripping a few drops of your favorite e-liquid directly onto the wick material visible through the coil's openings. Aim for saturation without overdoing it; we're not looking to drown the coil in e-liquid.
-
Step 2: Once the wick looks nicely saturated, install the coil into your tank and fill it up with e-liquid.
-
Step 3: Here's where patience plays a vital role. Let your tank sit for about 10 minutes. This waiting period allows the e-liquid to fully saturate the wick, ensuring that every part of your coil is ready to produce that delicious vapor.
Priming prevents the dreaded dry hit and extends the lifespan of your coil. It's a small step that makes a massive difference in your vaping experience.

3. Gradual Power Increase: The Gentle Approach
Now that your coil is primed and ready, it's tempting to crank up the power and get to vaping. However, a gentle approach will serve you better in the long run. Start vaping at a lower wattage than you typically would and gradually increase the power in small increments. This method allows your coil to adjust to the heat gradually and can significantly improve the flavor and longevity of your coil.
Here's a quick guide to doing it right:
-
Step 1: Begin at a power setting that's roughly half of your coil's recommended wattage range. If your coil's range is 60-80W, start at 30W.
-
Step 2: Take a few gentle puffs without inhaling. This step helps heat the coil slightly and begins the process of vaporizing the e-liquid.
-
Step 3: Over the next 15-20 minutes, gradually increase your wattage in 5W increments, taking a few puffs at each stage. Pay attention to the flavor and vapor production. Once you reach the lower end of the recommended wattage range, you can settle in or continue to your preferred setting.
This gradual increase not only ensures your coil is properly broken in but also allows you to discover the sweet spot for flavor and vapor production. It's a win-win!
Wrapping Up
Breaking in your new vape coil might seem like an extra step, but it's a game-changer for enhancing your vaping experience. By starting with a clean tank, priming your coil meticulously, and gently increasing the power, you set the stage for optimal performance. These simple steps can drastically improve the flavor, vapor production, and lifespan of your coil, making each puff more enjoyable than the last.

